Nuxt3项目中数据请求封装

前端项目中通常需要大量 http 请求获取数据,对 http 请求做封装,主要是根据所使用的请求库预设一些公用的配置,添加请求和响应拦截,添加公共参数,提供方便调用的请求函数。

之前已经写过一篇对 axios 的封装。Axios 封装

最近新项目使用 Nuxt3 搭建,Nuxt3 提供了两个组合函数 useFetchuseAsyncData 和一个内置库 $fetch 来请求数据,实际上背后使用的是 ofetch 库。本文使用 useFetch 对请求做简单封装。

组合函数位置

Nuxt3 composables目录下的 Vue 可组合项会自动导入到应用程序中,所以在该目录下创建 useHttp.js 文件导出请求函数即可。
为方便使用,我习惯针对每种请求 Method 单独定义函数,放在一个对象中导出;
异步请求返回 promise,在业务代码中再处理返回结果,这里使用 async 函数。
导出结构如下:

1
2
3
4
5
6
7
8
// useHttp.js
export const useHttp = {
get: async () => {},
post: async () => {},
put: async () => {},
delete: async () => {}
// ...
}

预设请求配置

useFetch 配置文档

通常请求必须的配置包括 baseURL请求方法请求路径请求参数等,此外还有 headerstimeout 等常用配置。
我习惯在业务代码中组织好参数,再和接口地址一起传给请求函数,也就是最简单的用法只需要传入请求路径请求参数即可,其余配置封装在公共函数中;
当然,如果接口有特殊配置需求,封装的请求函数也需要有可选参数传入配置,使用传入的配置覆盖公共配置。
这里需要结合 useFetch 的返回值实现,useFetch 返回包含 datapendingerrorrefresh 的对象,可以用 error 的值判定各请求方法的结果,若 error 有值则判定请求异常,抛出错误;否则返回结果给业务代码处理。

代码如下:

1
2
3
4
5
6
7
8
9
10
11
12
13
14
15
16
17
18
19
20
21
22
23
24
25
26
27
28
29
30
31
32
33
34
35
36
37
38
39
40
41
42
43
// useHttp.js

const fetch = (url, option) => {
return useFetch(url, {
baseURL: '', // 可根据环境配置不同的 baseURL
...option
// ...
})
}

export const useHttp = {
get: async (url, params = {}, option = {}) => {
const { data, error } = await fetch(url, { method: 'get', params, ...option })
if (error.value) {
return Promise.reject(error)
}
return data.value
},

post: async (url, body = {}, option = {}) => {
const { data, error } = await fetch(url, { method: 'post', body, ...option })
if (error.value) {
return Promise.reject(error)
}
return data.value
},

put: async (url, body = {}, option = {}) => {
const { data, error } = await fetch(url, { method: 'put', body, ...option })
if (error.value) {
return Promise.reject(error)
}
return data.value
},

delete: async (url, body = {}, option = {}) => {
const { data, error } = await fetch(url, { method: 'delete', body, ...option })
if (error.value) {
return Promise.reject(error)
}
return data.value
}
}

添加拦截器

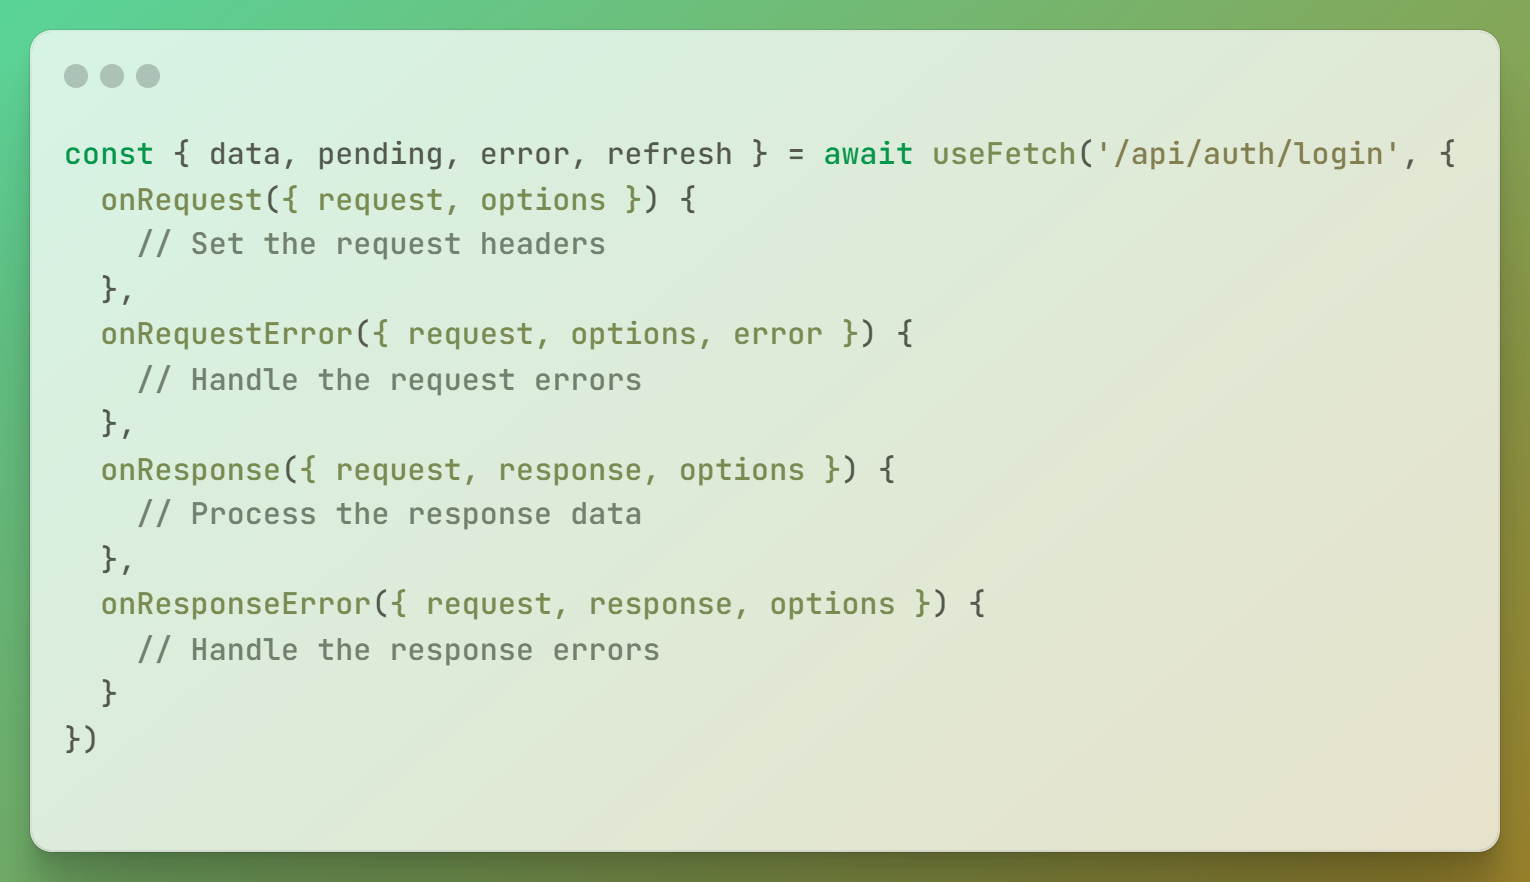
useFetch 提供了拦截器,在封装的函数中添加请求和响应拦截。
通常我会在请求拦截中添加需要的 header 信息,插入公共参数;在响应拦截中根据和后端约定的状态码统一增加错误信息提示、登录页跳转等操作。

代码如下:

1
2
3
4
5
6
7
8
9
10
11
12
13
14
15
16
17
18
19
20
21
22
23
24
25
26
27
28
29
30
31
32
33
34
35
36
37
38
39
40
41
42
43
44
45
46
47
48
49
50
51
52
53
54
55
56
57
58
59
60
61
62
63
64
65
66
67
68
69
70
71
72
73
74
75
76
77
// useHttp.js

const fetch = (url, option) => {
return useFetch(url, {
baseURL: '',
...option,

onRequest({ request, options }) {
// 根据业务加 header、公共参数等
const whiteList = ['/login', '/register']
if (!whiteList.includes(request)) {
options.headers = new Headers(options.headers)
options.headers.set('Authorization', `Bearer ${useToken.getToken()}`) // 获取 token 加入头信息
}
},
onRequestError({ request, options, error }) {
ElMessage.error(error.message || 'Request Error')
},
onResponse({ request, response, options }) {
if (response.headers.get('content-disposition') && response.status === 200) {
return response
}
const data = response._data

// 这里data.code是业务中约定的状态码,响应拦截中根据不同状态码处理返回结果
if (data.code === 200) {
return data
} else if (data.code === 401) {
useToken.setToken('')
useUser.setUser('')
navigateTo('/login')
ElMessage.error(data.msg || 'Error')
return Promise.reject(data)
} else {
ElMessage.error(data.msg || 'Error')
return Promise.reject(data)
}
},
onResponseError({ request, response, options }) {
ElMessage.error('Response Error')
}
})
}

export const useHttp = {
get: async (url, params = {}, option = {}) => {
const { data, error } = await fetch(url, { method: 'get', params, ...option })
if (error.value) {
return Promise.reject(error)
}
return data.value
},

post: async (url, body = {}, option = {}) => {
const { data, error } = await fetch(url, { method: 'post', body, ...option })
if (error.value) {
return Promise.reject(error)
}
return data.value
},

put: async (url, body = {}, option = {}) => {
const { data, error } = await fetch(url, { method: 'put', body, ...option })
if (error.value) {
return Promise.reject(error)
}
return data.value
},

delete: async (url, body = {}, option = {}) => {
const { data, error } = await fetch(url, { method: 'delete', body, ...option })
if (error.value) {
return Promise.reject(error)
}
return data.value
}
}

使用

在业务中,只需组织好参数,传入封装好的方法即可使用

1
2
3
4
5
const path = '/api/example'
const params = { id: 123 }
useHttp.get(path, params).then(res => {
console.log(res)
})

以上便是 Nuxt3 项目中对数据请求的简单封装,总结下我的主要封装思路:

  • 使用简单:只需传入请求路径和参数即可
  • 保持灵活性:参数组织和返回结果的处理都业务代码中进行,拦截器中仅处理异常,成功请求完整返回结果;特殊请求保留可选参数提供特有配置。

完。